/


Text
MC’UI 'I l< ।
Si rrl| fill i< ч I f। >i i»।•
anafomu for и ti .1
Mh hi*l I uui li alhi
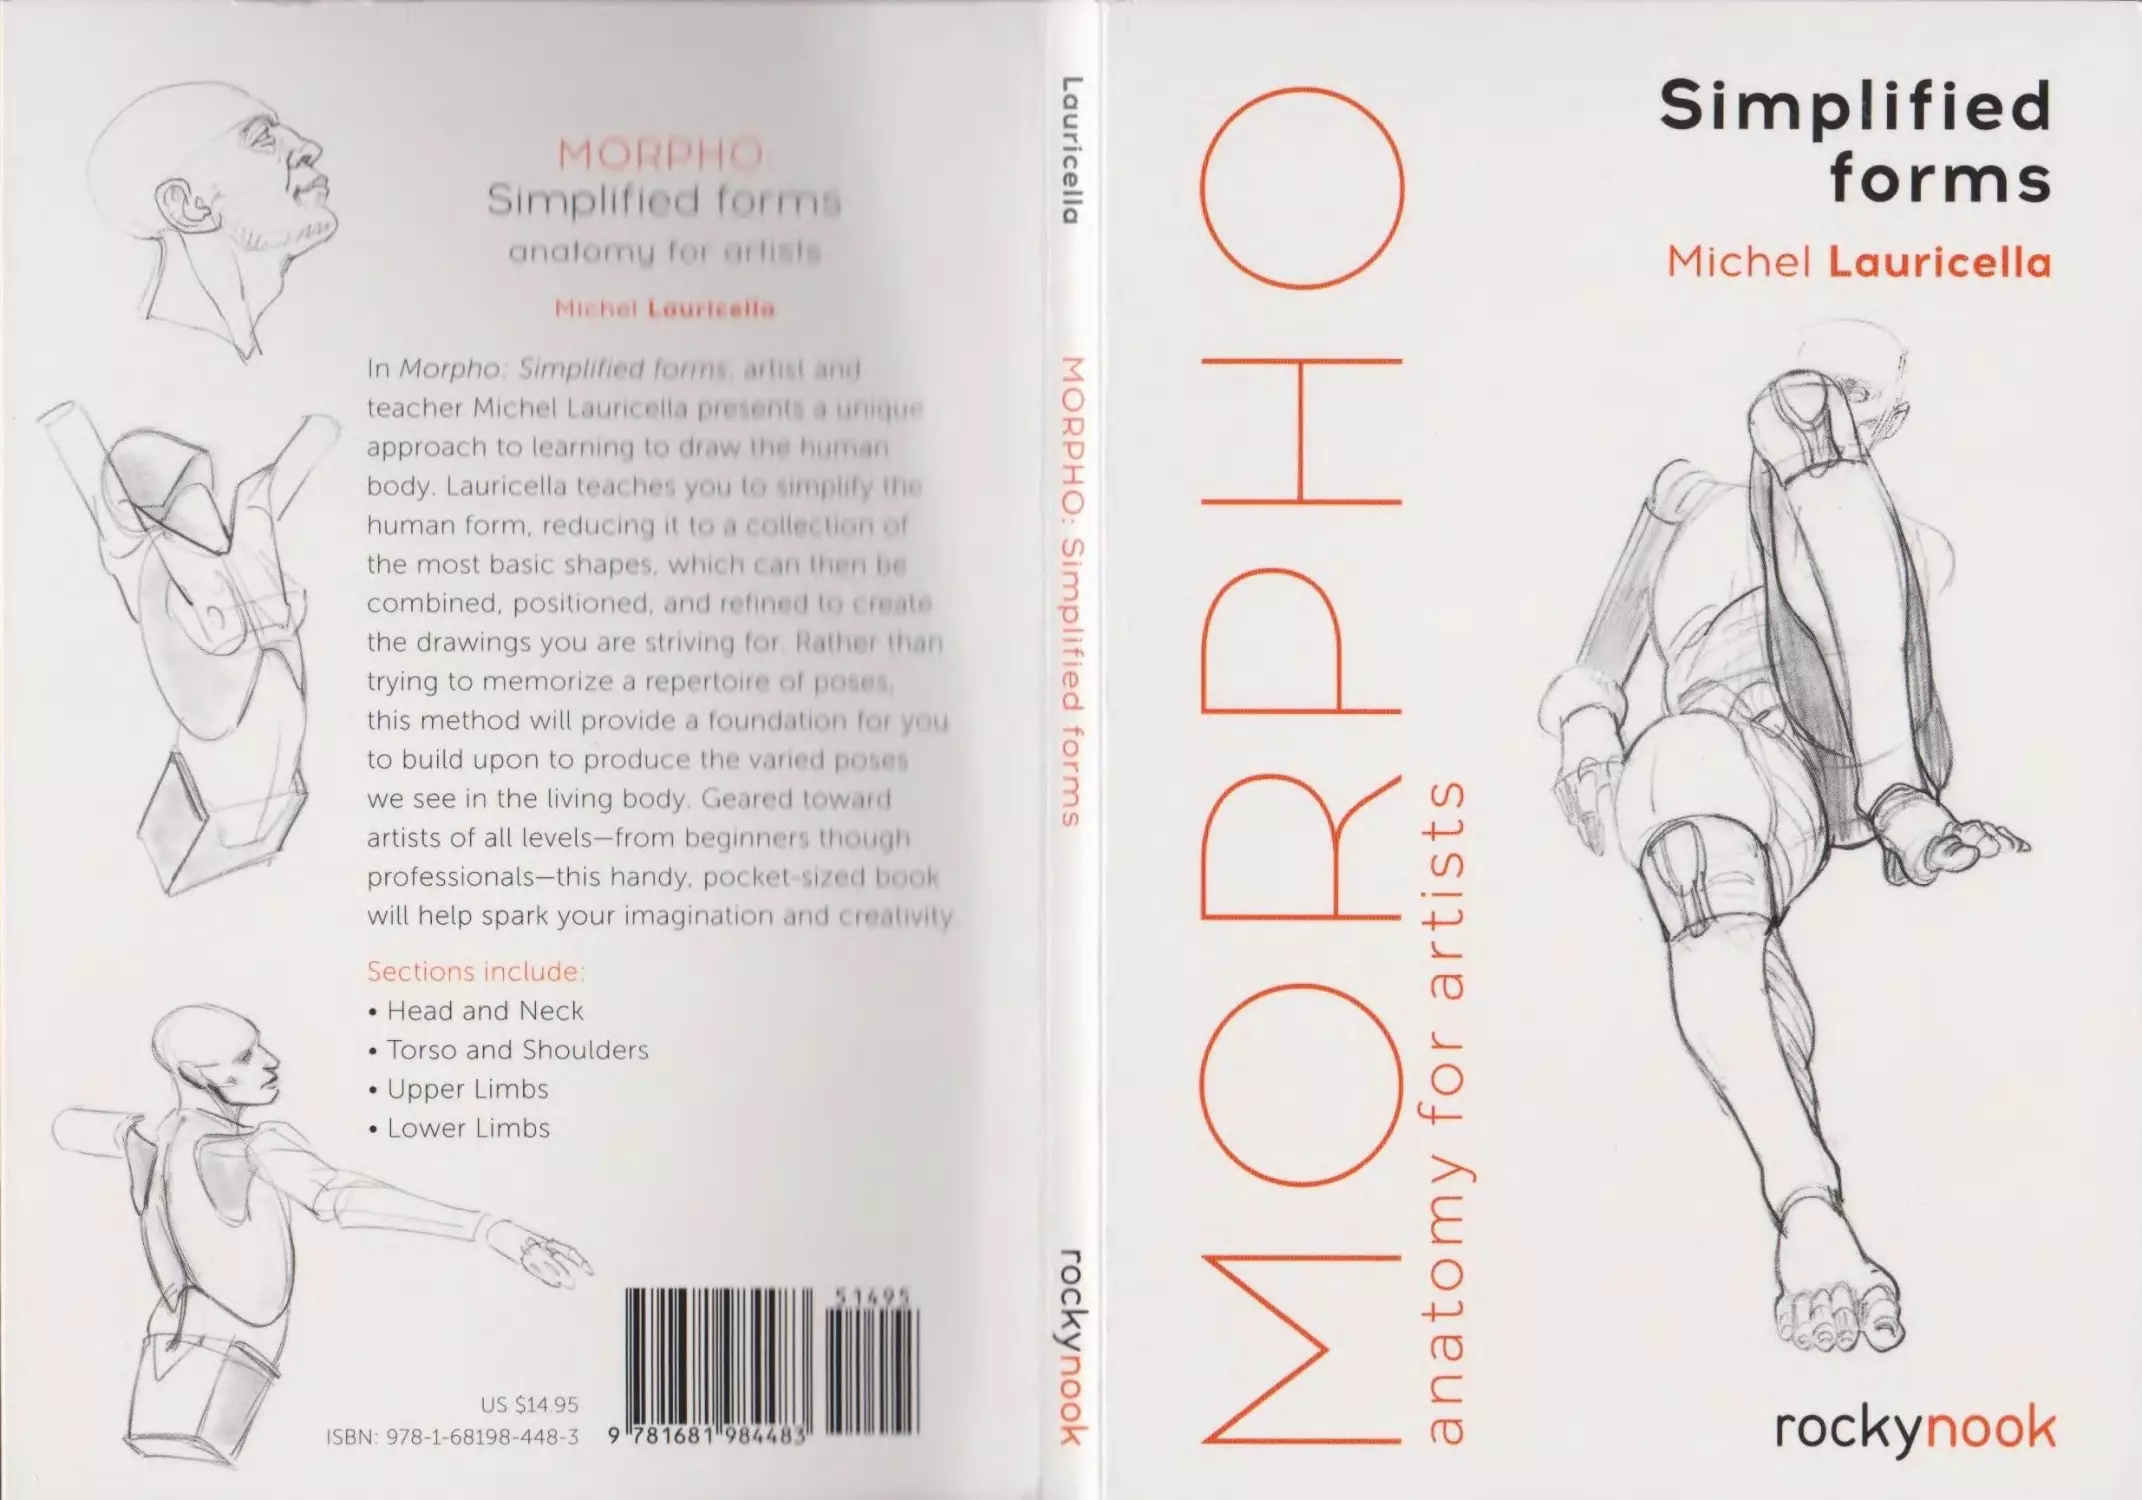
In Morpho Simplltifii li'iuf. gili'i .uni
teacher Micliel L.iuih ella pu . nt .......
approach to learning I" draw iiu inun u.
body. Lauricella tear !». ynu i" •.irnphly tin
human form, reducing it I......lb-, li. .1
the most basic shape-, win- h । .in и.. nt»
combined, positioned, and iHun-d 1.. . 1. ii.
the drawings you are striving Ь и Hath, । Dian
trying to memorize a repertoire ol p
this method will provide a four к l.il i< >n f> >1 , - u
to build upon to produce th'- varied p.
we see in the living body Geared I, -w.inl
artists of all levels—from beginner, tin nigh
professionals—this handy, pockei -.i/eii 1.1.
will help spark your imagination anil < u-alivii,
Sections include:
• Head and Neck
• Torso and Shoulders
• Upper Limbs
• Lower Limbs
US $14.95
ISBN: 978-1-68198-448-3 9
ouricella MORPHO: Simplified forms ГОСкупоок
Simplified
forms
Michel Lauricella
Morpho: Simplified Forms: Anatomy for Artists
Michel Lauricella
Editor: Joan Dixon
Project manager: Lisa Brazieal
Marketing coordinator: Mercedes Murray
Graphic design and layout: monsieurgerard.com
Layout production: Hespenheide Design
ISBN 978-1-68198-448-3
1st Edition (1st printing, March 2019)
Original French title: Morpho: Forms synthetiques
© 2017 Groupe Eyrolles, Paris, France
Translation Copyright © 2019 Rocky Nook, Inc.
All illustrations are by the author.
Rocky Nook, Inc.
1010 В Street. Suite 350
San Rafael. CA 94901
USA
www.rockynook.com
Distributed in the UK and Europe by Publishers Group UK
Distributed in the U.S. and all other territories by Ingram Publisher Service1.
Library of Congress Control Number: 2018955182
All rights reserved. No part of the material protected by this copyright nc»lu •• »u iv be
reproduced or utilized in any form, electronic or mechanical, including ph<>i..pymg
recording, or by any information storage and retrieval system, without written ргшн. । .n
of the publisher.
Many of the designations in this book used by manufacturers and sellers > dp.im ji ii-.h
their products are claimed as trademarks of their respective companies Wh« <• m •
designations appear in this book, and Rocky Nook was aware of a trademarl1 < Um the
designations have been printed in caps or initial caps. All product names and
identified throughout this book are used in editorial fashion only and for the b<-n. in .-i
such companies with no intention of infringement of the trademark They are nc»t u nd
ed to convey endorsement or other affiliation with this book.
While reasonable care has been exercised in the preparation of this book, the puli' i »
and author assume no responsibility for errors or omissions, or for damage*. irsuiting
from the use of the information contained herein or from the use of the div .......
grams that may accompany it.
This book is printed on acid-free paper.
Printed in China
table of contents
5 foreword
6 introduction
19 drawings
21 head and neck
39 torso
59 upper limb
79 lower limb
96 resources
foreword
This book is about diagramming the
human body with the goal of learning
to draw from your own imagination.
We begin with the complex form,
which can be observed in living mod-
els. and then, by way of an anatomical
analysis, we will deduce from that the
simplest shapes that best approximate
the human form, while still allowing for
variations in posture.
The proportions used in this book
are that of an adult, reduced to their
most basic essence, with no distinction
based on sex or age. The resulting fig-
ures are, of course, neutered and asex-
ual, but the construction of complex
shapes in space may justify this loss of
information.
We will use simple orbs, boxes, and
cylinders, which will, with their surfaces
and shapes, represent the various seg-
ments of the human body. After com-
pleting a drawing of the basic form,
the work of establishing specific details
(the subtleties of contours and the per-
sonality of your model) will remain to
be done. We hope that by way of this
shortcut—using the simplified form-
you will learn to use this as a founda-
tion for your work and will enrich your
repertoire of poses.
While we believe that drawing
from a live model is irreplaceable, the
approach used in this book is to forego
use of a model. If you strictly want to
draw from live observation, the simpli-
fication proposed here runs the risk of
weakening your drawing and making it
less sensitive.
This book makes sense when
you are drawing without a model. If
you choose to redraw the drawings
proposed here, by all means feel free
to vary their poses and proportions.
Ultimately, the goal is to learn to draw
from your own imagination.
Finally, the rendering of the human
body into simple shapes should facil-
itate your understanding of the folds
of skin and clothing, which will often
coincide with the ellipses that we will
place at the level of the joints.
introduction
In order to avoid repeating a fixed rep-
ertoire of memorized poses, our goal
is to learn to draw from our own imag-
inations in a way that relies on a limited
set of geometric shapes that are easy
to arrange according to our needs.
Boxes, orbs, and cylinders will be the
main shapes in our repertoire, but we
will also rely on the skeleton as much
as possible. Thus, the head will be en-
tirely built around a simplified skull; the
rib cage will keep an ovoid shape; and
the pelvis, reduced to a simple box, will
protrude beneath the skin at its upper
contour. The shapes of the elbow and
knee joints can be traced back to the
skeletal frame. The extremities (hands
and feet) are mostly bony, and their
diagramming also evokes the skeleton.
This book is divided into four main
sections: head and neck, torso, upper
limb, and lower limb.
6 | morpho - simplified forms
The Head
The skull can be reduced to two main
shapes, the ovoid cranial box, and,
in front of that, the curved, vertical
surface of the face (Fig. 1). The lower
jaw, the only mobile bone in the head,
extends from the face downward. Its
triangular base forms the chin and is at-
tached to the skull at the halfway point
of the skill's egg shape, in a profile view
(Fig. 2). The ear is positioned just be-
hind this connection point (Fig. 3). For
the purposes of this book, we do not
need to go into any further detail than
that. We will rely on the classical pro-
portional canon—used by da Vinci and
Durer, among others—to estimate the
placement of the eyes, the nose, the
mouth, and the height of the ears. The
eyes are at the halfway point, and the
ears are at the height of the nose and
are placed, as we have just seen, be-
hind the jaw. Notice that this distance is
often underestimated. The ears, which
are positioned under two circular arcs
set at the height of the nose, will allow
us to convey the head's tilting motions.
A simple cylinder will indicate the ori-
entation of the neck, on which we will
sometimes show the oblique volume
of the sternocleidomastoid muscle
(1, Fig. 4).
introduction - 7
The Torso
The rib cage can be reduced to an egg
shape, which is sliced obliquely across
the top to make it coincide with the el-
lipse at the base of the neck (Fig. 1). Its
lower end is cut along the contours of
the inverted V created by the ribs that
are clearly visible on a live model.
For certain shortcuts, we will
choose a simplification in the shape of
a box; a radical reduction that offers us
a better view of the depth. When the
egg shape is foreshortened, it loses its
characteristics and begins to look like a
sphere (Figs. 2 to 4).
The pelvis is drawn like a large
matchbox, laid on one of its long sides.
In the middle of its front side we find
the pubis (Fig. 5). a bone reference
point, placed just above the sexual or-
gans, which serves as a marker of the
halfway point of a standing body in
many proportional canons (da Vinci,
Durer).
In certain cases we will choose a
different shape, closer to its exterior
shape, following the oblique path of
the flexural folds (Fig. 6).
8 | morpho - simplified forms
introduction - 9
Starting from the torso, we find the
arm muscles that are responsible for
lowering the pectoral muscles (1), and
the united teres major and latissimus
dorsi muscles (2). which delineate the
walls and define the hollow of the
armpit (Fig. 1). Associated with these
muscles are the scapular belt, which
is made up of the shoulder blades and
the clavicles. Our simplification must
include the drawing of these bones
because they follow all the movements
of the arm and create major changes
in shape. The shoulder blades are es-
sential to the drawing of this area. They
are two triangular plates that function
as relay platforms for the muscles of
the upper limb. These plates slide and
pivot on the rib cage and follow all the
movements of the arm. Thus, they tilt
to point upward when the arm is raised.
We will concentrate here on the brack-
et created by the shoulder blades, rath-
er than detailing the muscles that cover
10 | morpho - simplified forms
them. For those muscles, we will sim-
ply use their outline, which connects
the rib cage to the arm.
These muscles form the rear wall
of the armpit and can be seen more
clearly wFien the arm is raised.
The deltoids (3) and trapezius mus-
cle (4) will be indicated by their out-
lines. At the shoulder, the trapezius is
connected to the neck and the deltoid
to the arm. We find that the clavicle is
most interesting in views from above
because it emphasizes the rounded-
ness of the rib cage. In those cases,
we will draw it, but most often, it will
disappear within the more important
shape of the pectoral, which takes up
the front wall of the armpit.
The muscles that connect the rib
cage to the pelvis create a uniform
whole, connected by the fat that is
often thicker in front and on the sides.
These are the abdominals, rectus ab-
dominis (5) and obliques (6), to which
one can add the spinal muscles that
run along the spinal column.
introduction -11
The Upper Limb
Left to hang down along the body, the
hand comes to mid-thigh. The elbow
joint is halfway between the top of the
shoulder and the end of the back of the
hand (when it is made into a fist). The
shoulder joint can be drawn as a sphere
that is visible in front, corresponding to
the head of the humerus. The arm it-
self becomes a simple cylinder. We can
give it a slightly oval cut in the front-to-
back direction, given that the muscles
are basically distributed with the biceps
(1) in front or the humerus and the tri-
ceps (2) in back.
We find a bone reference point at
the elbow: The tip of the ulna forms an
angle that can be exaggerated in order
to reinforce the presence of the bone.
The forearm creates a conical
shape. Its fleshy muscular masses (the
extensors, 3, and the flexors, 4) mostly
come back together close to the el-
bow, whereas the tendons complete
the shape near the wrist. Because the
tendons are not very thick, we reinforce
the bony presence at this level by flat-
tening the lower part of this segment.
At the connection between the up-
per arm and the forearm, we have of-
12 | morpho - simplified forms
ten found it necessary to add a muscu-
lar element: the brachioradialis or long
supinator (5), which follows the twists
made possible by the way the joints are
in this area, and expresses them on the
surface. The radius and ulna cross (in
pronation) and uncross (in supination),
allowing the rotational movements of
the hand*
The brachioradialis is inserted on
the lower third of the arm and follows
the thumb side of the forearm. Thus,
when the thumb is brought back to the
interior (pronation, the act of grasping),
the muscle crosses the forearm diago-
nally. Conversely, it remains on the out-
side of the contour when the thumb is
turned outward (supination, the act of
supporting).
On the other side, the ulna (the
elbow bone) can be drawn along the
length of the forearm, as far as the wrist
(on the side of the little finger).
introduction -13
The hand (as with the foot) requires
more focused attention.
The most useful proportions for the
hand are easy to remember: The back
of the hand, measured from the end of
the ulna (the small bony ball on your
wrist on the side of the little finger), is
as long as the longest finger. The first
phalange of each finger (except for the
thumb) is equal to the length of the
other two phalanges put together. The
wrist is followed by the bones of the
hand, each ending in a curved or arced
shape. It is not important to distinguish
the individual bones here. At the end
of these arcs (at the end of a fist) four
fingers begin. Each finger is made up
of three phalanges, drawn as simplified
small cylinders.
The last item is the thumb. This op-
posable digit does not align along the
same plane as the fingers. It starts from
the wrist on the inside of the hand.
The thumb, too. is drawn using three
cylinders, even though it only has two
phalanges (pl and p2). This is because
the thumb's metacarpal (ml) is distinct
and is much more mobile than those
of the fingers, which are all connected
together on the same plane along the
back of the hand.
Finally, we add a few fleshy vol-
umes, both muscular and fatty, on the
palm of the hand.
14 | morpho - simplified forms
The Lower Limb
Measured from the hip joint to the
ground, the leg can be divided at the
knee joint into two equal parts. At the
center of the small sides of the box
representing the pelvis, we place the
hip joints (Fig. 1), with the femurs be-
ing subcutaneous here (shaded area,
Fig. 2). However, on many models, the
fat in that area obscures the femurs’
presence. Regardless, the flexural fold
always indicates their positions (Fig. 3).
The cylinder of the thigh can take
a conical form, narrowing above the
knee. We will most often draw a diag-
onal line across this segment, corre-
sponding to the passage of the Sartori-
us muscle (1), which descends from the
upper angle of the pelvis to connect
with the inside of the knee (Fig. 4). This
line makes it possible to separate the
two principal masses of a thigh as seen
from the front: the quadriceps (2) and
the adductors (3).
introduction -15
The buttocks (made up of fat) can
be confused with the gluteal muscles
(4). The buttocks are drawn as a con-
tour that covers the hip joint on the
side and at the back. The gluteus slides
inbetween the quadriceps and the
hamstrings (5).
The knee requires its own shape, as
it is a joint area where the bones are
dominant. We will most often repre-
sent the knee as a simple cubical form
in order to reinforce (as with the elbow)
the hard, angular presence of the skel-
eton. Then we will sometimes refine its
shape by positioning the patella.
From the knee to the ankle, the leg
is drawn as an elongated cone. Here,
we again find characteristics similar to
the forearm: fleshy and muscular forms
above with more tendinous and bony
forms close to the ankle. We are not
always able to resist curving the shape
of the leg somewhat in order to make
it more attractive. In a profile view of a
16 | morpho - simplified forms
person in a standing position, the thigh
and lower leg segments are not per-
fectly aligned one atop the other. The
thigh is slightly prominent and pushes
the knee to align with the midfoot in
front of the ankle joint. This is due to
the unequal distribution of the mus-
cular masses on the thigh and on the
lower leg. The femur is, in fact, entire-
ly covered by the musculature of the
thigh—particularly the powerful quad-
riceps in front-whereas the gastroc-
nemius muscle of the calf (6) is further
back, and the anterior tibialis muscles
(extensors, 7) push the tibia to brush
just under the skin in the front.
The foot is made up of three princi-
pal parts: the heel, the midfoot (domed
on top and arched on the bottom),
and the toes. As with the thumb, the
big toe has only two phalanges, unlike
the other toes that each have three
(though the two last phalanges of the
little toe are so small they seem to form
just one).
Like the hand, the bones of the foot
dominate the shapes on the top while a
layer of fat cushions the sole.
introduction -17
rawings
head and neck
22 I introduction face
The eyes can be drawn halfway up the head.
The space between the eyes is about the same
as the width of an eye.
The ears are at the same level as the nose.
The base of the nose coincides with the
depressions underneath the cheekbones.
The height of the nose can be equal to the
measurement from the bottom of the nose
to the chin
face - introduction I 23
24 | introduction profile
profile - introduction | 25
26 I introduction three quarters
three quarters introduction I 27
28 I introduction - three quarters
three quarters introduction I 29
30 I introduction cheekbones
back introduction | 31
The ears, placed between
two arcs and aligned
with the bottom of the
nose, help to express the
head's tilting movements.
32 I introduction shortcuts
shortcuts introduction I 33
34 I introduction - eyes
nose introduction | 35
36 I introduction lips
Fig. 3: Rear views. The
circumference of the
ear is twisted into an
elongated 'S' shape along
the cartilaginous wall.
Fig 1: The earlobe and
the ear’s cartilage form
three round contiguous
shapes.
Fig 2: Nnemonic
device (following artist
Normand Lemay):
ears - introduction | 37
torso
40 I introduction and pelvis - rib cage
rib cage introduction and pelvis I 41
42 I introduction shoulder
shoulder - introduction | 43
44 I introduction breast
breas' introduction I 45
46 I introduction armpit
armpit introduction I 47
48 I introduction shoulder
shouldei introduction 1 49
Fig. 1: Simplified representation
of the spinal column.
Fig. 2: The spinal muscles (1)
run all along the column, largely
covering it. from the pelvis to the
skull. The oblique muscles (2)
occupy the flank, or side area
50 I introduction back
back - introduction | 51
52 I introduction oack
back introduction | 53
54 I introduction back
back introduction | 55
56 I introduction shortcuts
shortcuts introduction I 57
upper limb
60 I introduction - proportions
bone markers introduction | 61
62 I introduction rear view
rear view introduction I 63
The forearm's
three muscle groups.
The first group (the brachioradialis
and the first radial) starts at the arm
and is inserted near the wrist, on the
thumb side.
The second group (the extensor
muscles) starts in the elbow region and
is fastened onto the back of the
' hand and fingers.
64 | introduction forearm
forearm introduction | 65
66 I introduction supination
supination introduction | 67
68 | introduction pronation
pronation - introduction | 69
introduction -pronat,on
F^:Thebracftioradialis
'^fiemr muscle in the
forearm and is shown here
taking the most direct path
m this flexed position.
pronation - introduction | 71
Fig. 1: Palm of the hand. Simplified
diagram of the placement
of the fleshy masses.
Fig. 2: Detached thumb, to
be repositioned against the
flat of the hand.
Fig. 3: A series of ellipses
indicates the beginning of
the phalanges.
72 | introduction - hand
hand introduction I 73
74 I introduction hand
hand introduction | 75
76 I introduction hand
tower limb
80 I introduction - proportions
proportions - introduction I 81
I
82 | introduction thigh
thigh introduction | 83
84 I introduction flexion
flexion - introduction I 85
86 I introduction ^ear view
rear view - introduction I 87
88 I introduction - t.high/leg ratios
thigh/leg ratios - introduction | 89
The hip joints are situated at
the middle of the small sides of
the pelvis. The femur is shown
underneath the skin at this level.
90 | introduction - thigh/leg ratios
thigh/leg ratios - introduction | 91
92 I introduction foot
Fig. 4
Fig. 5
У Fig. 1: The foot folds back
onto itself at the level of
the ‘kick. ’
Fig. 2: The sinuous line that runs
from the inside of the knee to the
inside ankle (or internal malleolus)
corresponds to the tibia, which is
subcutaneous from top to bottom.
Fig. 3: Outer view.
Fig. 4: Simple diagram of the
plantar arch.
Fig. 5: Inner views.
foot - introduction | 93
94 I introduction foot
foot - introduction | 95
resources
In the making of this book. I owe a great deal to the work of the
French comic book author Raymond Poivet.
The Human Machine.
George B. Bridgman.
Dover Publications. New York. 1972.
Constructive Anatomy.
George B. Bridgman.
Dover Publications, New York. 1973.
Figure Drawing: Design and Invention,
Michael Hampton.
Michael Hampton. 2009.
www.figuredrawing.info
100 Tuesday Tips.
Griz and Norm.
Griselda Sastrawinata-Lemay
and Normand Lemay. 2015.
Drawing Manual.
Glenn Vilppu.
Vilppu Studio-Spi edition. 1997
Le Dessin de nu (For French speakers).
Thomas Wienc,
Dessain et Tolra, Paris. 2010.
Michel Lauricella was trained at the Ecole
nationale superieure des beaux-arts
(National Higher Institute of Fine Arts) of
Paris. He has been teaching morphology
for over twenty years, first at the Emile
Cohl school (Lyons), then at the Beaux-Arts
studios of the city of Paris, and finally at the
Gobelins (Paris). He currently teaches at the
LISAA school, the Beaux-Arts workshops,
and the Fabrica 114 studio, all of which are
located in Paris. France.